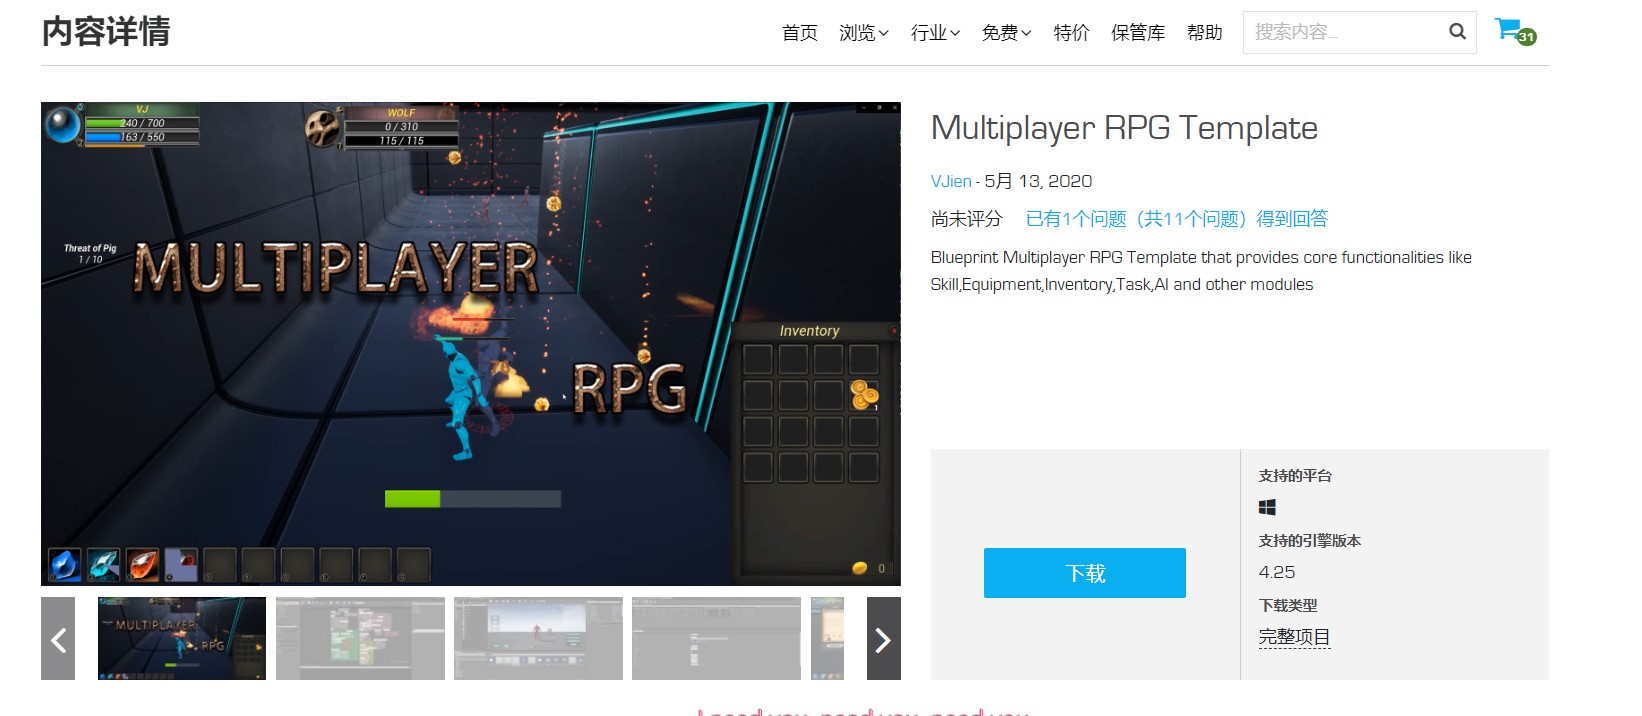
《Multiplayer RPG Template》Documentation
This is Multiplayer RPG Template Documentation,its about configuration and production method of the main system
This case is based on UE4’s ListerServer built-in LAN online game demo, refer to the work WOW
Based on UE4 version 4.25
There are still some imperfections in the demo, which will be followed up for optimization and repair
Skill system
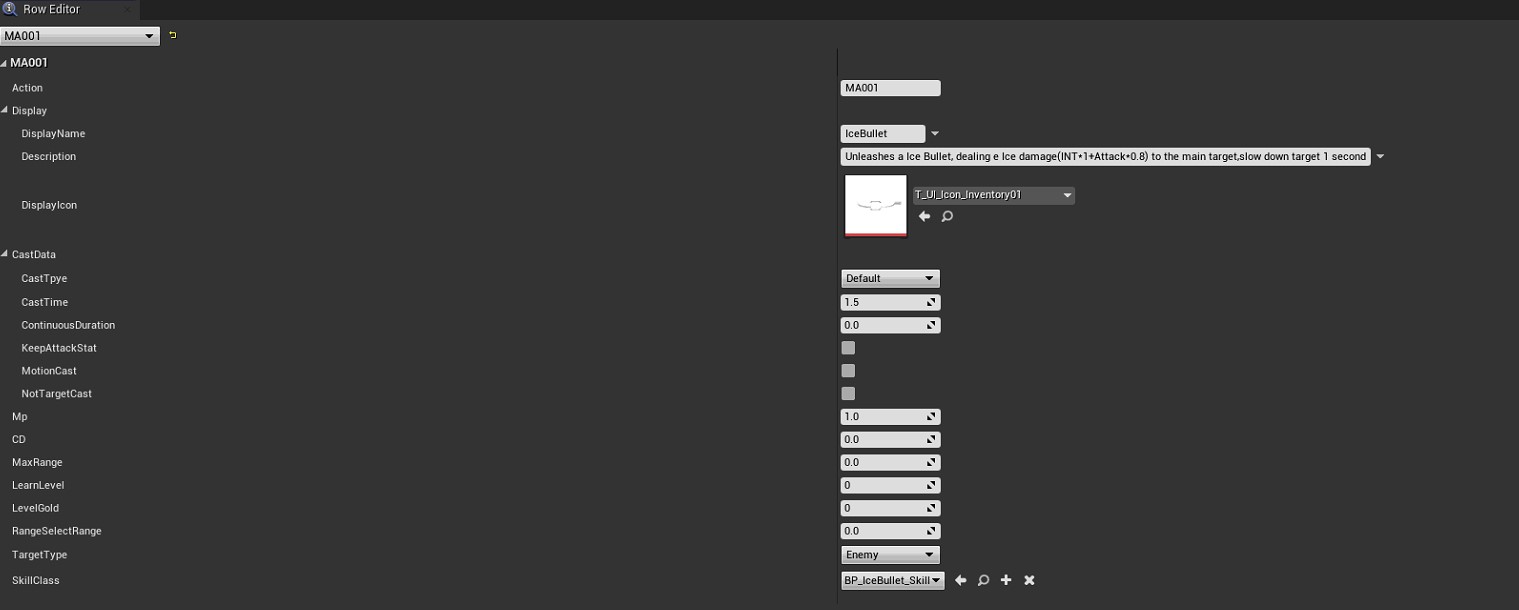
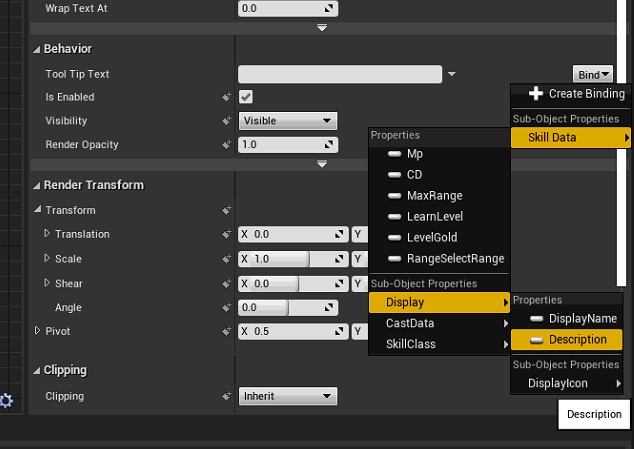
As shown in the above figure, this figure is the configuration information of the skill table. The important parameters are briefly described below
- Action: This variable represents the unique ID of this behavior. In principle, it is the same as the RowName of the table. In many logics, you need to use the ID to find all information about the skill, or use the ID to execute the skill
- Display(struct):3 parameters are used to display the general information of this skill, such as the display of the name or description and icons, which are related to the UMG, of course, you can also customize
- CastData(struct):This is a spell-casting structure, which mainly sets the method and conditions of the spell-casting
- Type:For example, the default reading spell casting, continuous casting, attack superimposing casting and other methods
- Time:The time it takes to cast, 0 means instant
- Duration:If it is a continuous cast, then this parameter means the lead time
- KeepAttackStat:After the cast is finished, the normal attack will continue
- MotionCast:Move cast, if set to No, you must stand cast, once you move, interrupt cast
- NotTargetCast:Does not require target casting, and is generally used for range skills such as Fire and Rain
- Mp:Mana cost, Warrior Rage
- CD:Cooling time
- MaxRange:Maximum release range, calculated in Unreal Units, 0 means unlimited
- LearnGold/Level:Prerequisites for learning this skill, 0 means no requirement
- RangeSelectRange:If it is a skill selected by range, this parameter indicates the radius of the effect
- TargetType:Target type, place of action or friend
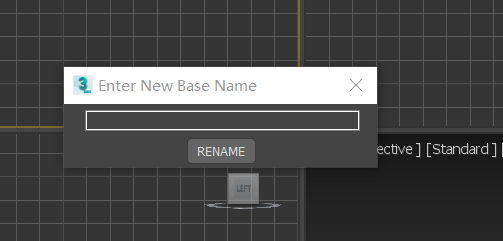
- SkillClass:Skill class, no need to create manually

SkillRef
This is created by the SkillClass configured in the table, there is no need to manually create it, you only need to make the logic and effects of this class
This class is inherited from
BP_BaseSkill, which has some messy blueprint logic, but not all are necessary to use. In this case, you can freely play in many cases. Anyway, after the skill is released, you can control this skill through this class Running the instanceLet’s explain it through the skill class of
IceBullet
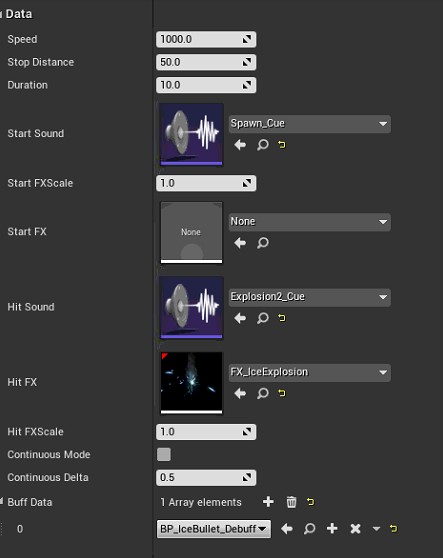
IceBulletInherit fromProjectileBase,As shown in the figure above, this is the basic parameter type of this class
- speed: flight speed, depends on
ProjectileComponent - StopDistance: the distance to stop, because this class is to track the target flight, so there will always be when approaching and reaching the target, a logic will be generated after reaching the target and stopping
- Duration: Duration, if there is no hit, the time will destroy yourself
- Sound / FX: related special effects configuration, Start can be used to play when it is generated, Hit can be used to play after hitting the target, but all need to be manually released
- The effect of calling Start afterProjectileBasehas realizedBeginPlay
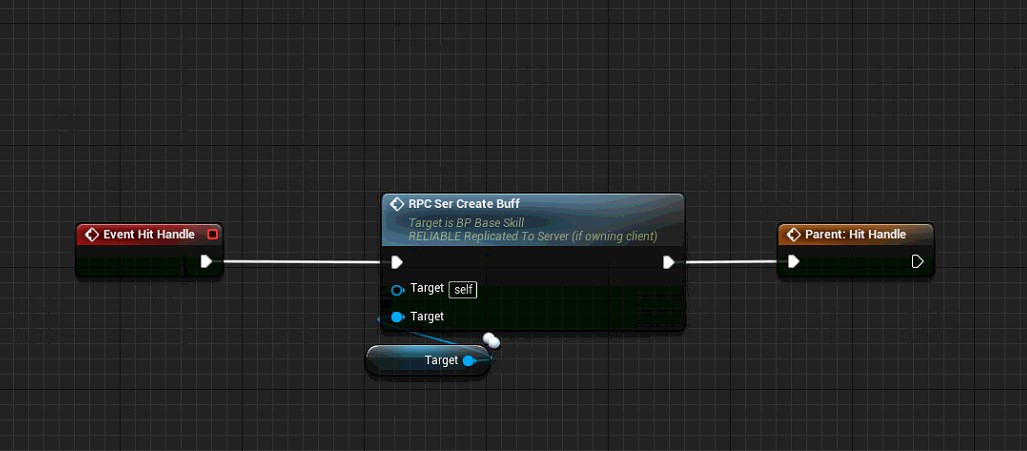
- The Hit effect has been achieved after hitting the target - BuffData: If this skill has buff / debuff, you can set this class, you need to manually call the method to create and run the buff class, as shown below
BuffRef
This is an instance class of Buff, created by internally calling
CreateBuffmethod of SkillRefBy rewriting the
BuffInitandBuffEndmethods to achieve custom logic, if it has a continuous effect, then you can rewrite theBuffDeltamethod to make the logic of continuous calls
EquipSystem
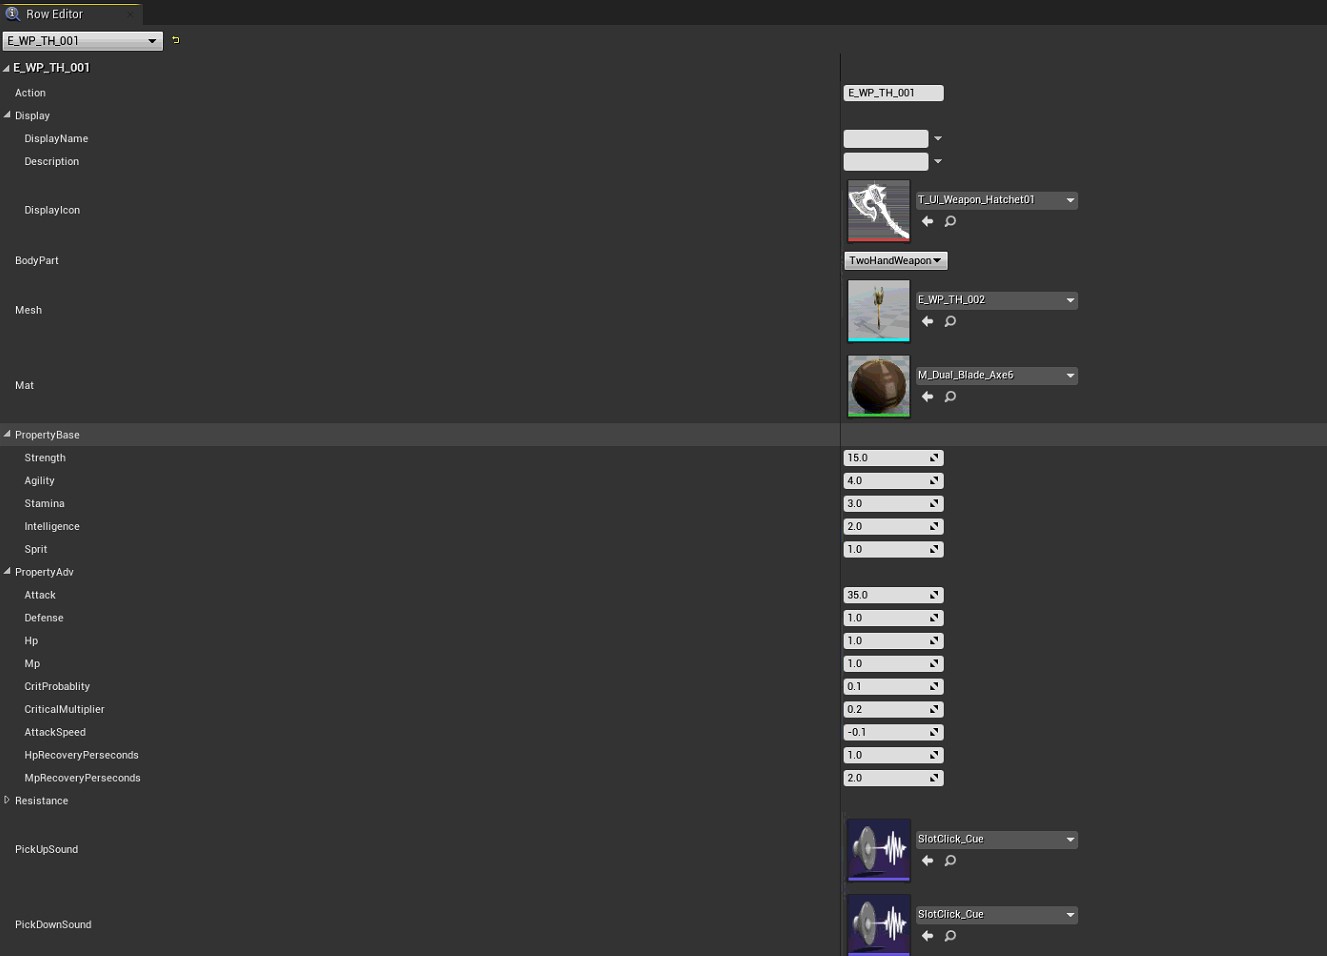
As shown in the figure above, this is the configuration table of the equipment information. The following briefly introduces the role of the main parameters
- BodyPart: the corresponding position of the equipment
- Mesh/Mat: Used to display the model of this equipment entity, equipped on the character or discarded into the world
- Property: literally means 2 kinds of properties, of which Adv property will change with the change of Base
PropSystem
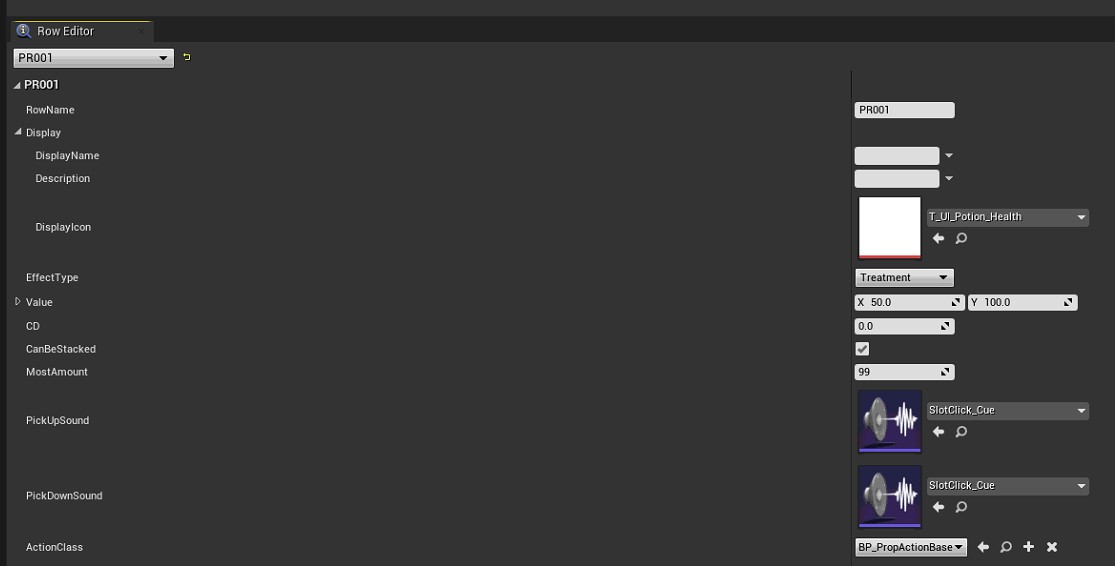
The prop system is similar to the equipment system
- EffectType:Effect type, this case only made the healing effect and the effect of increasing magic
- Value: You can set the range value of the effect, of course, this is not necessary, specifically the internal implementation of the following prop class
- CanBeStacked:If one item occupies one space in the backpack bar, otherwise it can be stacked together
- ActionClass:Prop class implement logic class, refer to Skill instance implementation, specific logic can be written into this class
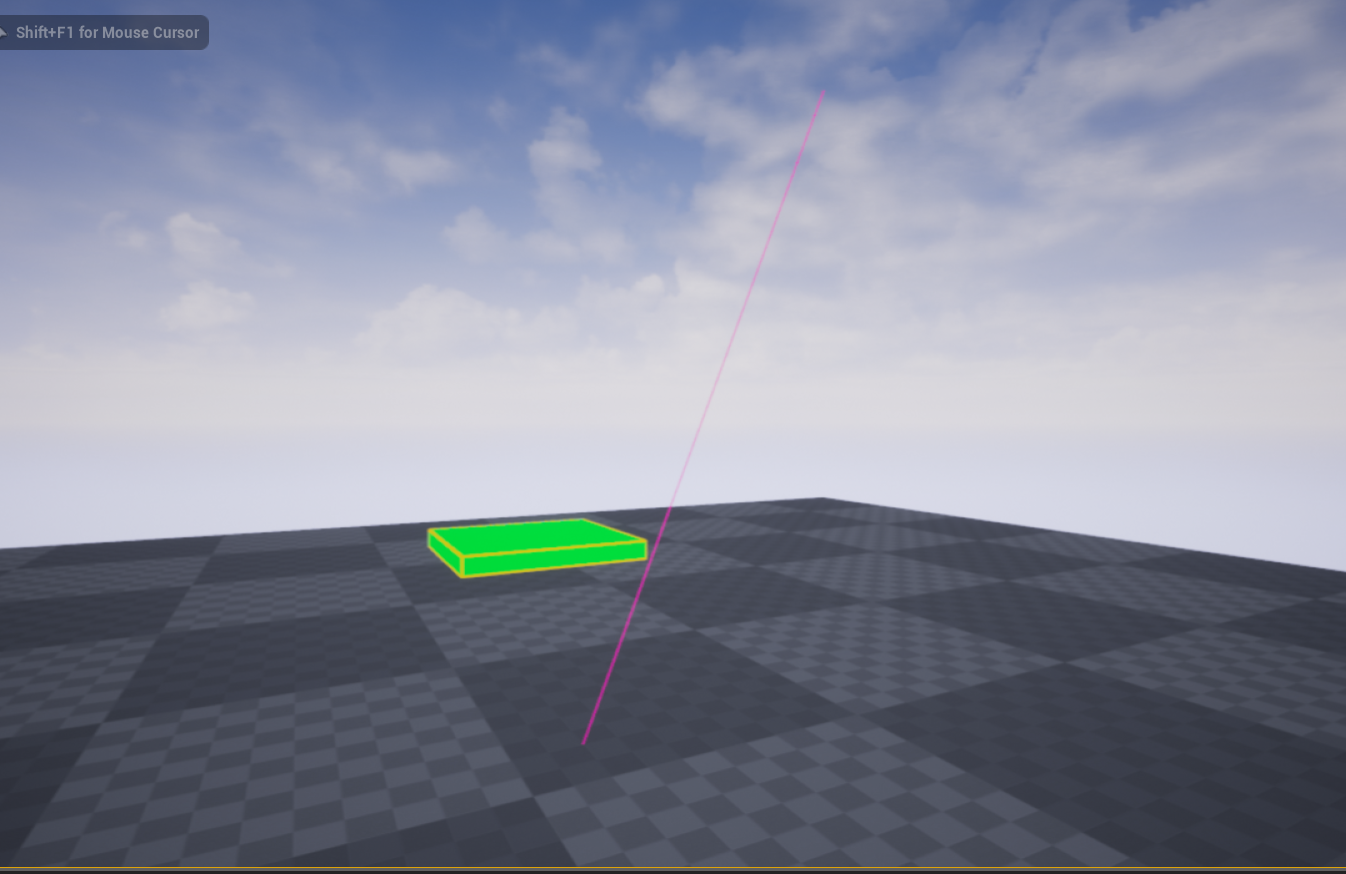
DropSystem
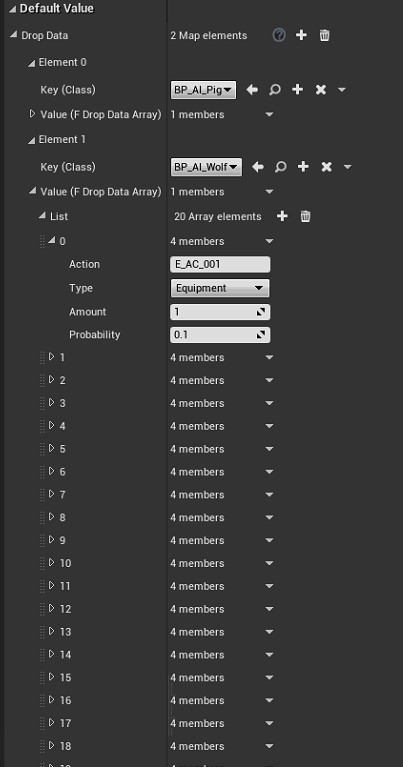
As shown in the figure above, the configuration of the drop system is placed in the
DataSystemclass. Why is there no configuration table? O (∩_∩) OOf course, you can create a similar table yourself and replace the logic in it. This is very simple.
This configuration information is a Map key-value pair, the key corresponds to the role class, and the value is the drop information array
- Action:Select the action name of equipment / props, etc.
- Type:Choose equipment / props. Of course, if you want to drop skills, you can theoretically do it. Please play freely.
- Amount:number of drops
- Probability:Probability, this probability calculation is done when the character is created, when not kill
TaskSystem
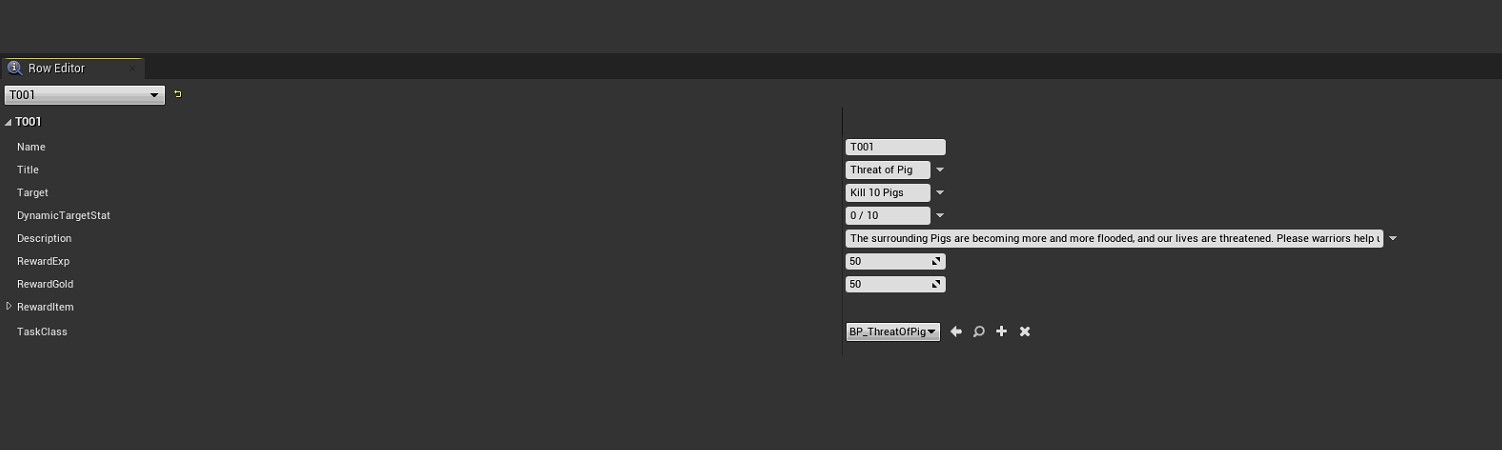
As shown in the figure above, this is the configuration information of the task table
- Titile:the title of the task, which will be displayed in the header section of the task bar
- Target:the target of the task
- DynamicTargetStat:This will be refreshed dynamically, the specific implementation logic is in the following TaskClass
TaskRef
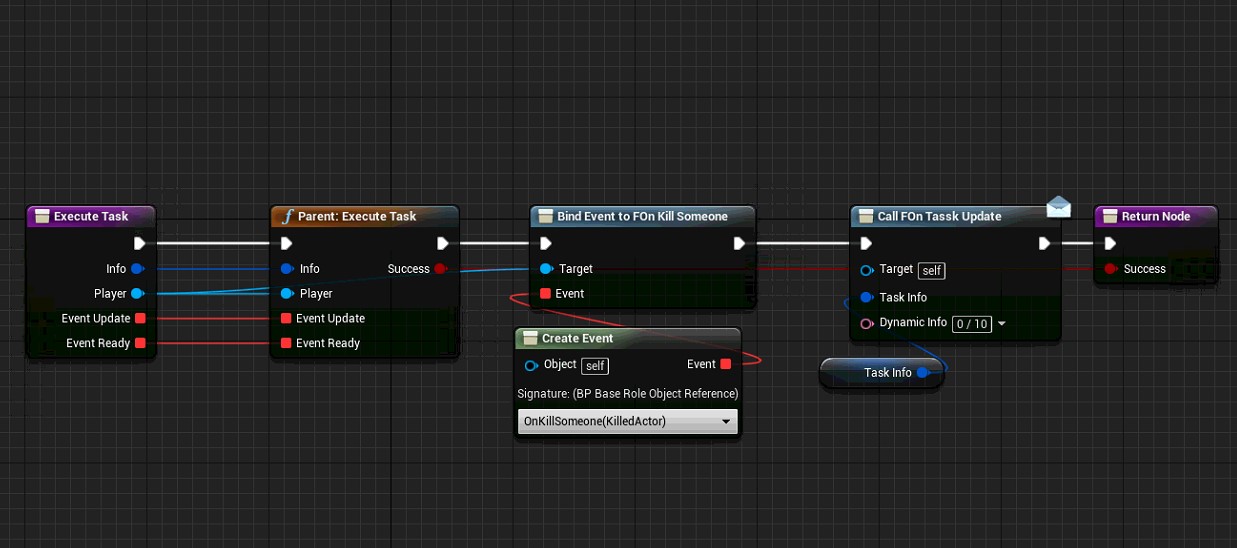
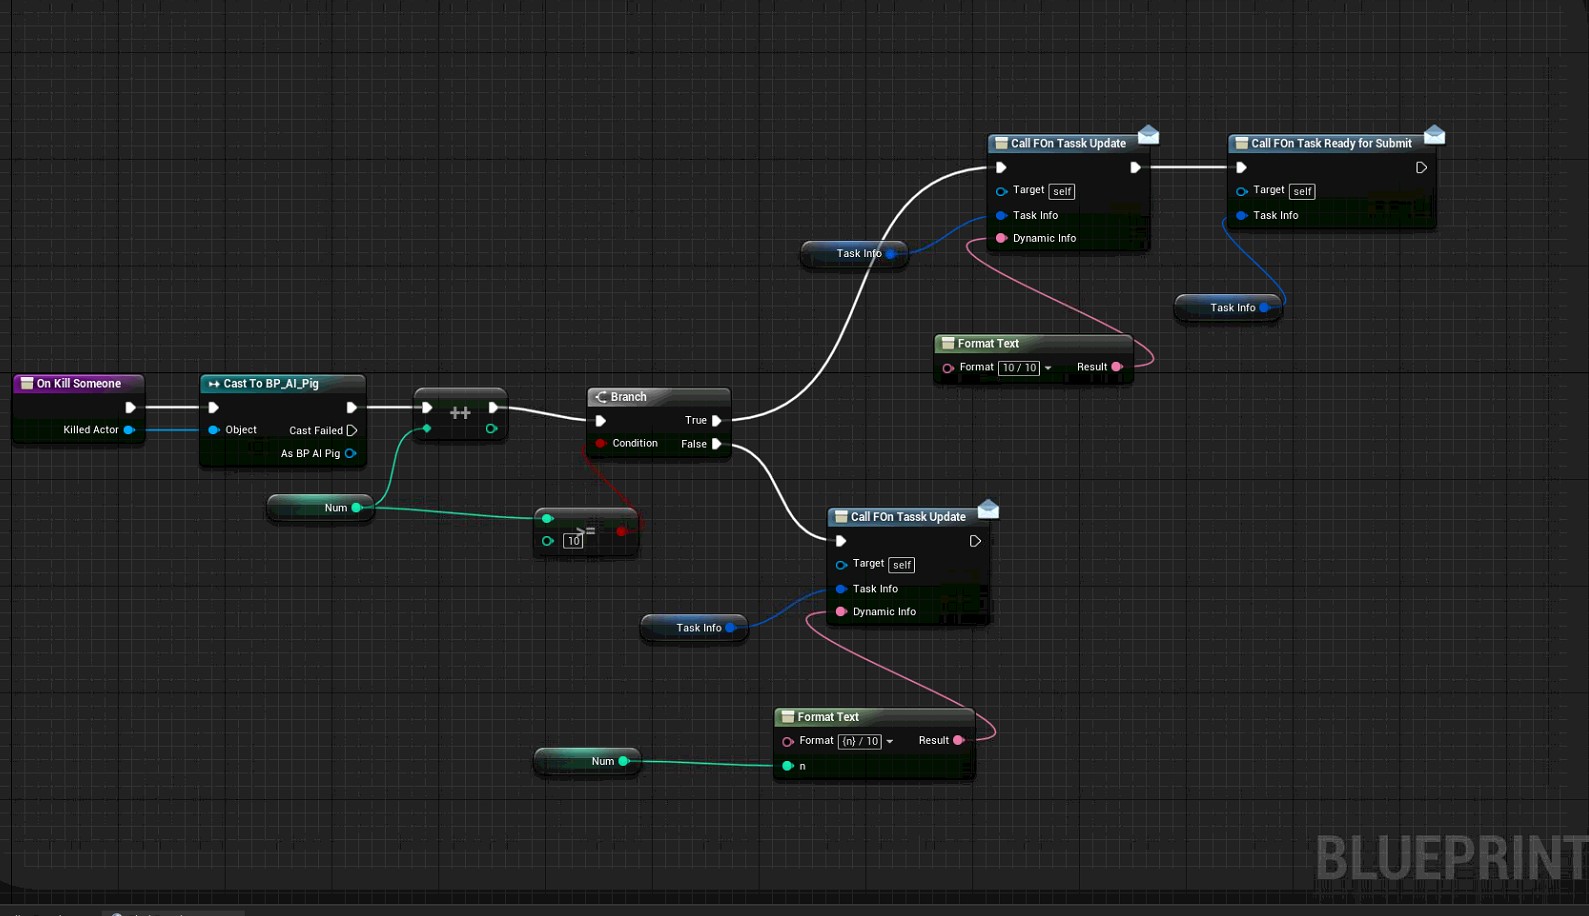
As shown in the figure above, each time a task is accepted, a task class will be generated as an observer (agent) of the task
Specifically what the task is for, you can manage it by implementing the logic in this class, while setting the dynamic information in the task goal
Other
Monster refresh
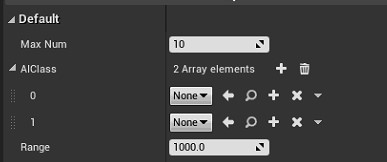
Monster refresh is done by placing a
BP_AIGeneratormanagement class in the scene
- MaxNum: the maximum number of refreshes
- AIClass: Set the class for refreshing the character, if more than one, it will be randomly refreshed from it
- Range: refresh monsters within a radius centered on the position of the management class