UE4发布steam游戏流程
2019年4月18日在steam发布了个人一款独立动作游戏《EndlessHell》,本文将借此记录发布steam游戏的流程
UE4版本4.21
文中内容前半部分为提交当时编辑,搬运至博客后更新后续部分
配置
SteamDLL
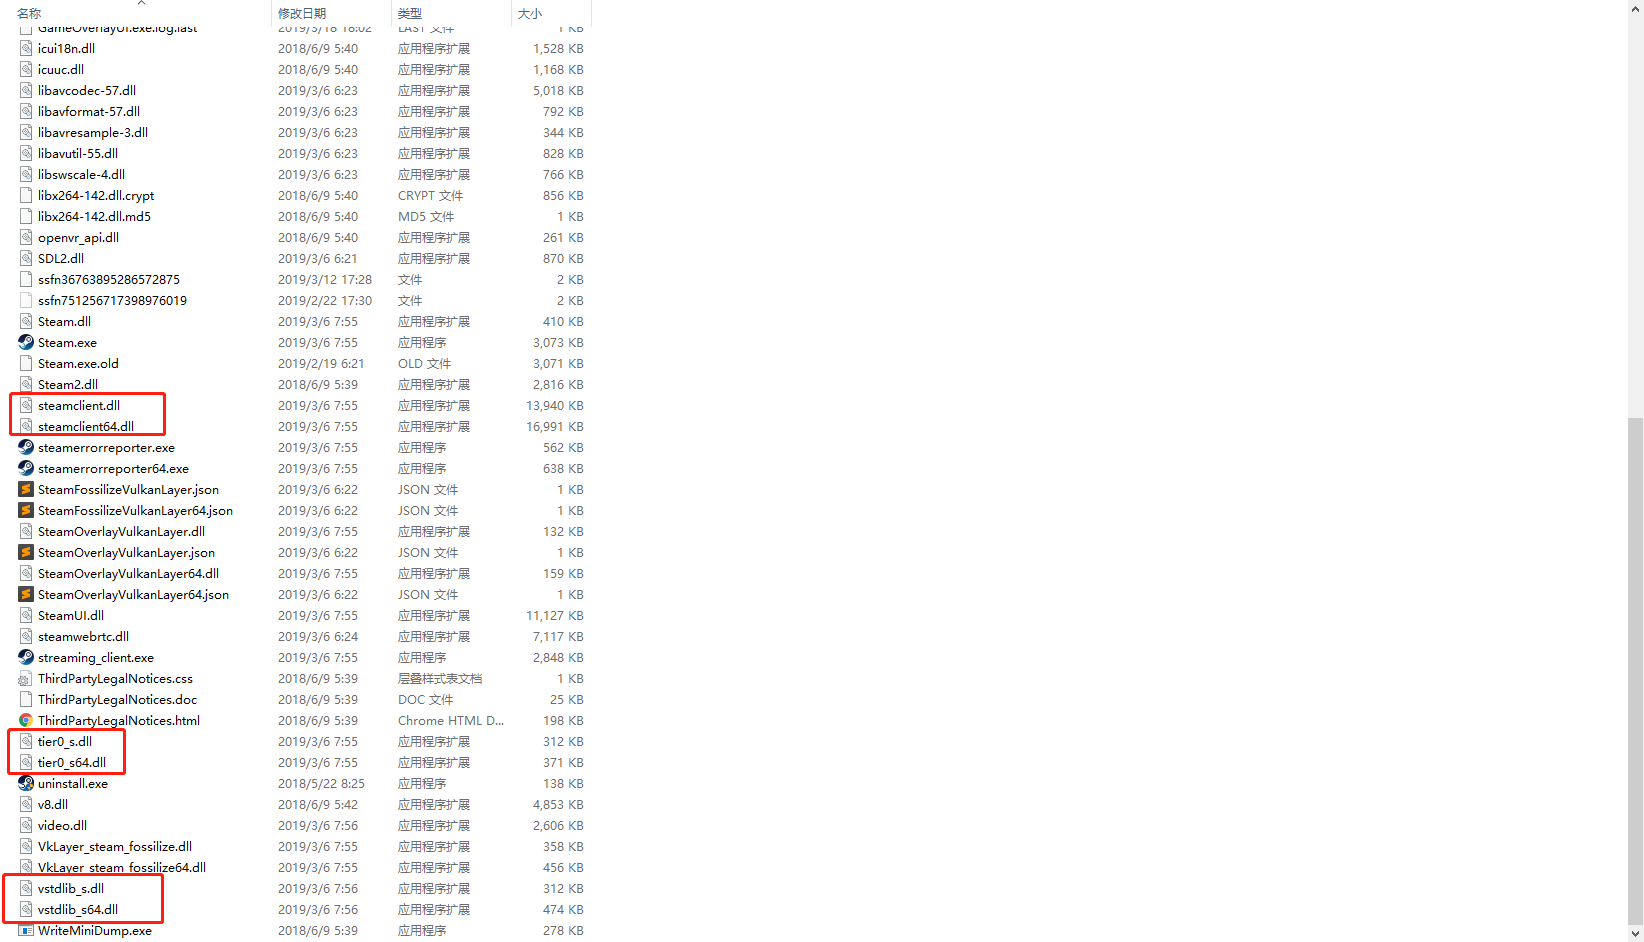
复制steam程序中的dll文件至本地引擎文件内*\UE_4.21\Engine\Binaries\ThirdParty\Steamworks\Steamv139
如下图所示
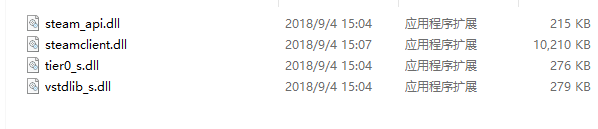
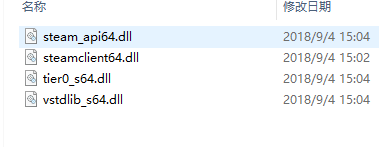
最终效果如下
Engine.ini
添加如下代码
1 | [/Script/Engine.GameEngine] |
UE4配置
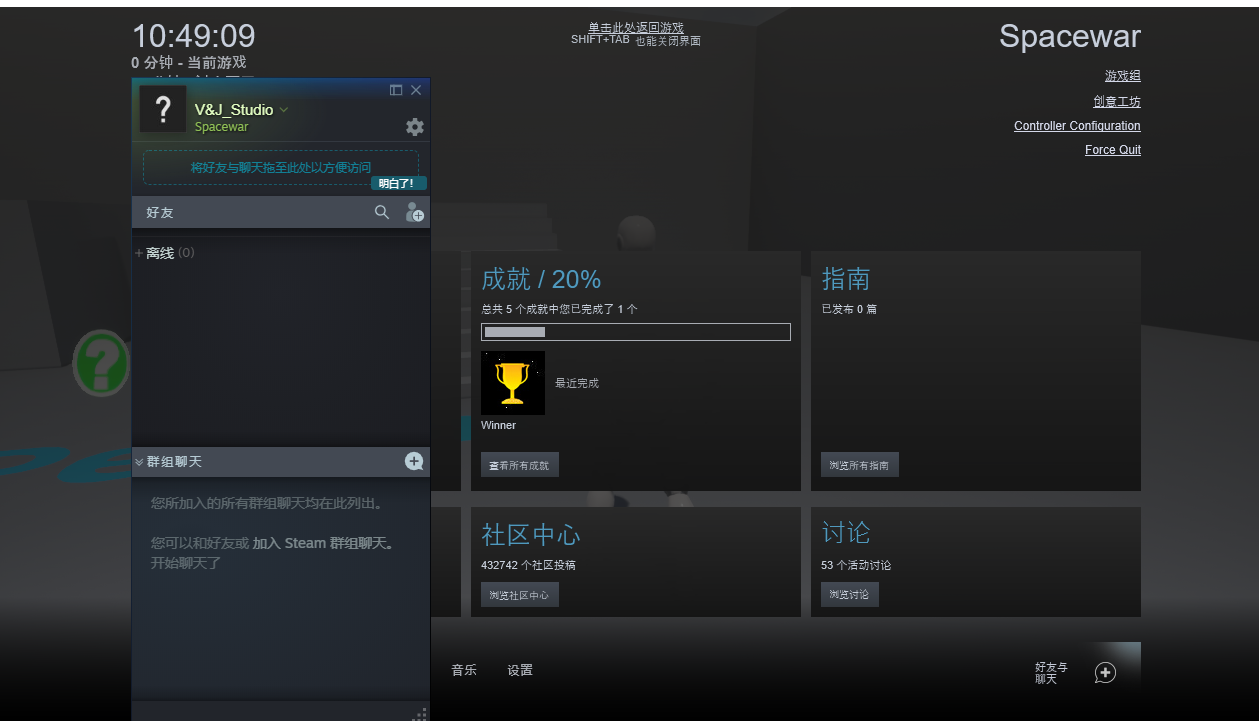
开启子系统,如下图

至此进入游戏后按shift+tab可以唤出steam窗口,记住需要使用==独立窗口模式运行==
- 如需使用steamapi,在target.cs中开启如下选项
1 | bUsesSteam = true; |
- 同时在
build.cs中如下模块
1 | PublicDependencyModuleNames.AddRange(new string[] { |
SteamWork
- 首先需要注册一个stemawork账号
- 发布steam游戏需要申请一个ID,本作ID是1055000(此数字+1为depot的ID),以下用的此数字均为游戏ID,另外需要一次性付费100美刀(当时价格),当销售额度达到1000美刀后返还
- 另外需要提供个人银行账户,每月月初当上个月份税后金额达到100刀以上会打款到账户
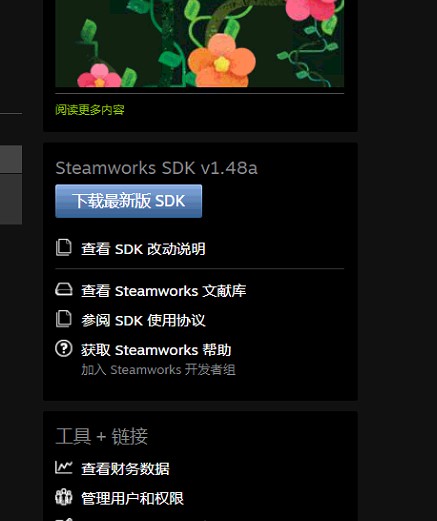
- 在进入下面之前需要先下载steamSDK,如steamwork首页右下角位置,如图
应用管理
应用程序
通用
设置正确的游戏名字和平台
steam输入
提供的输入方式,如手柄,xbox等
SteamPipe
提交版本
这个是版本生成器,用于提交版本和选择当前在商店下载的游戏版本
提交版本可以使用SDK包中的工具提交,在开始提交之前需要设置如下内容
- 修改
sdk\tools\ContentBuilder\scripts\app_build_*.vdf文件为app_build_1055000.vdf,同时修改内容为
1 | "appbuild" |
必须修改的是appid和depots的内容, 对应的ID修改成自己的
- depot_build_1055001.vdf文件同样修改内容为
1 | "DepotBuildConfig" |
主要修改depotsid和content的路径
运行
\sdk\tools\ContentBuilder\builder\steamcmd.exe准备提交内容```\sdk\tools\ContentBuilder\content``内是游戏包的内容,请确保exe启动名字与==[安装>通用安装>启动选项>可执行文件]==名字一样
更新>登录>运行如下脚本提交
1
run_app_build E:\Download\steamworks_sdk_144\sdk\tools\ContentBuilder\scripts\app_build_1055000.vdf
路径为app_build文件的路径
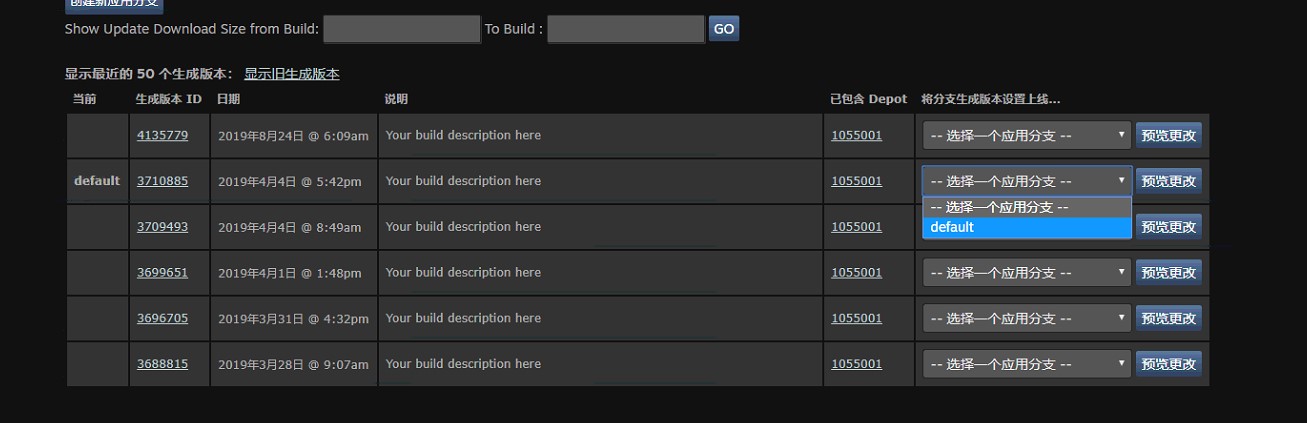
提交后看到如下图的新的分支,修改default为当前展示和下载的分支
depot设置
此页面比较简单,需要正确设置程序支持的语言和平台
安装
通用安装
安装文件夹
下载安装以后的文件夹名字
启动选项
- 可执行文件:启动程序,一般就是引擎打包以后那个exe文件
- 其他正确设置就可以
可再发行文件
Steam 可以自动安装您的许多常见可再发行文件
客户端图像
根据要求规格上传各种icon文件
统计与成就
统计
设置统计的类型和名称
成就
设置名称、描述和icon
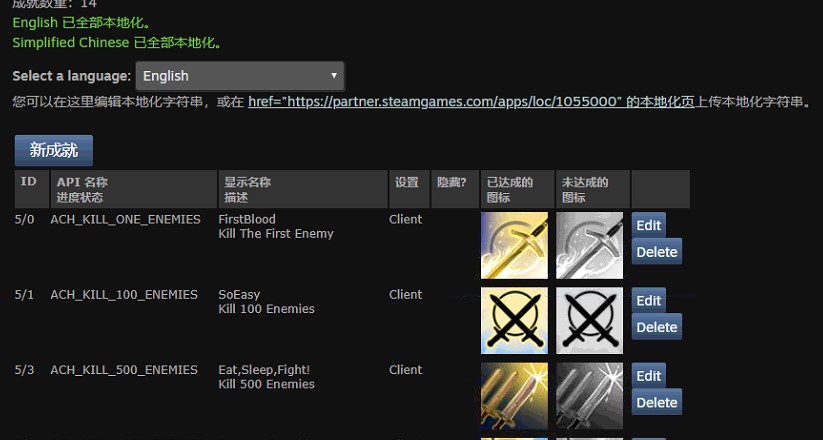
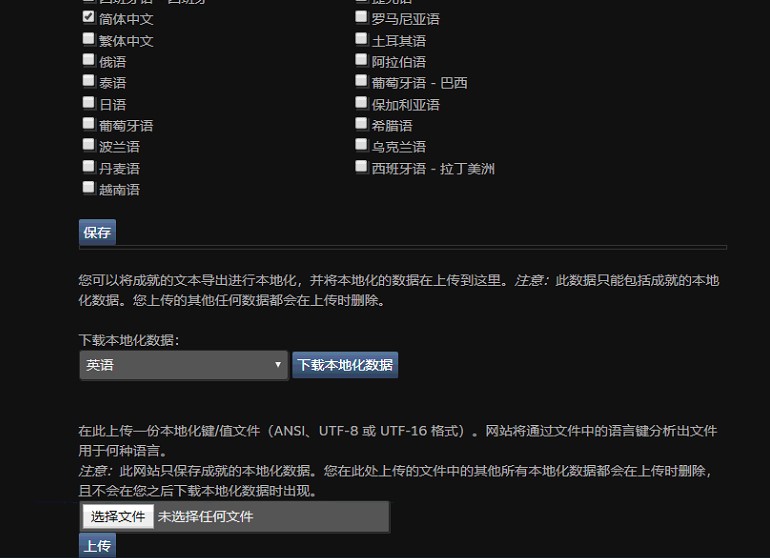
本地化
成就名称和描述的本地化,可以下载文档再提交更新
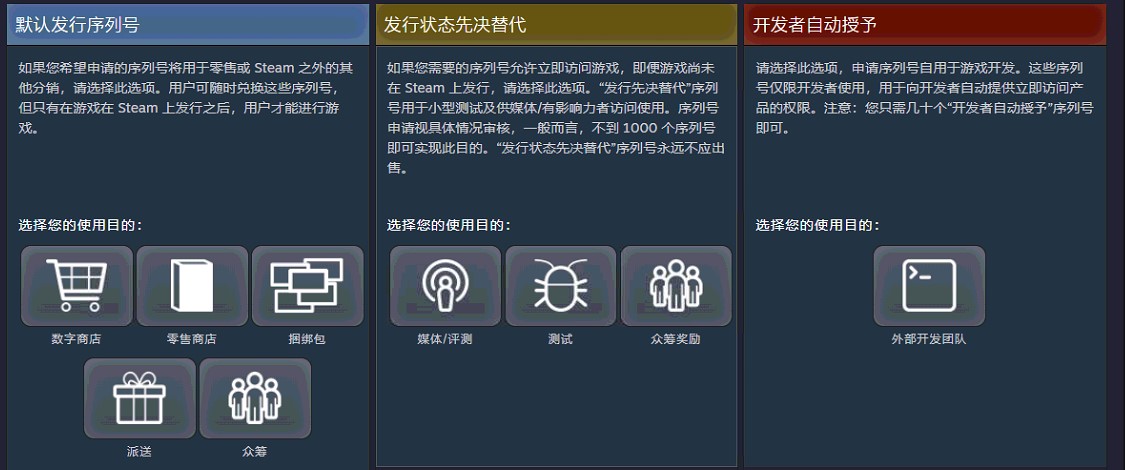
管理序列号
申请序列号,注意其中不同的序列号的用途
在首页有下载选项

发布
所有修改完后都需要进入发布选项进行发布到商店,系统会提示差异
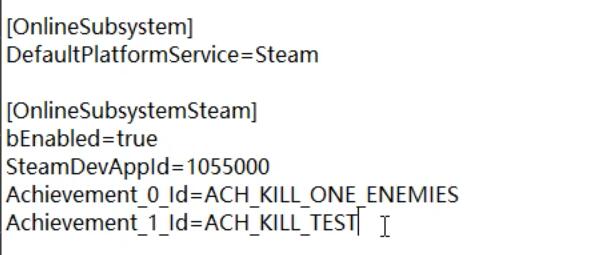
成就API
- 很容易被忘记的一点,ini文件利必须设置与网站成就对应的字符串,如下图
- 蓝图api
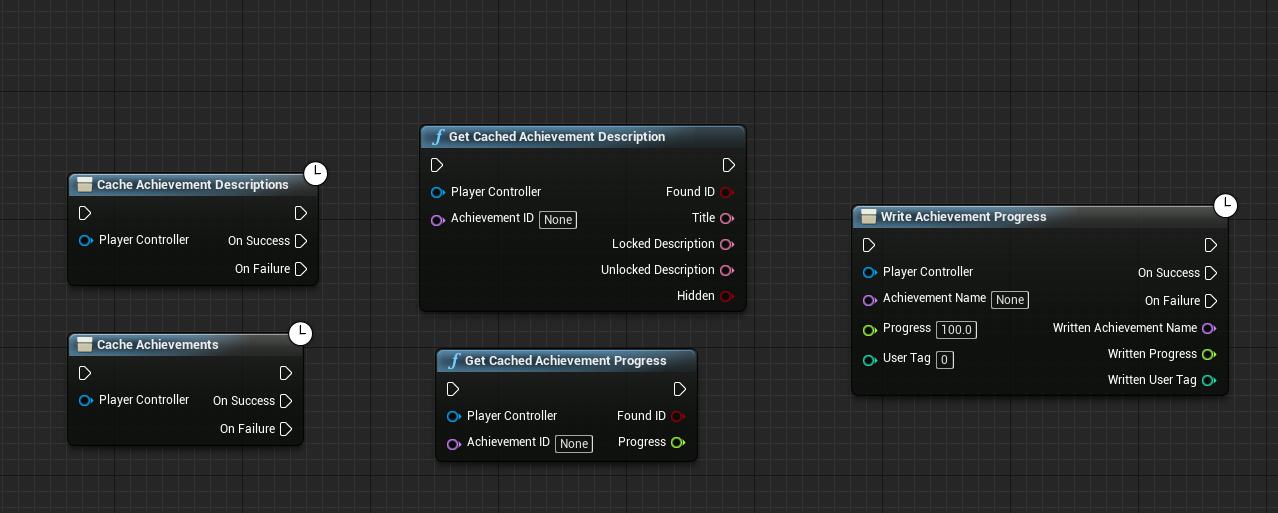
读写成就之前必须先缓存成功
目前版本对于成就进度条的读取和设置只有0或者1,所以只要写入的参数大于0成就即完成,不知后续更新能不能完善