- Published on
- |- 次浏览
UE4运行时修改按键的解决方案
- Authors

- Name
- 东哥
前言
对于很多情况下, 我们都希望我们可以在游戏运行状态下自定义UE4的按键映射, 目前的UE已经支持多数平台的按键在蓝图中实时的更改按键设置, 直接保存到 EngineInput.ini文件
写了一个案例插件,提供了几个解决方案的Demo和几个方便蓝图使用的库函数
API
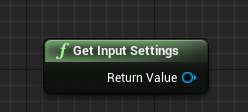
我们项目设置里的Input栏的内容其实是封装在一个UObject类UInputSettings中, 他其实就是一个配置类, 有一个静态方法可以直接获取该类
static UInputSettings* GetInputSettings();
蓝图中亦可
看该类的头文件发现, 所有属性几乎都是蓝图不可访问的, 在多数情况下, 我们只需要找到修改按键的API即可
UFUNCTION(BlueprintCallable, Category = Settings)
	void AddActionMapping(const FInputActionKeyMapping& KeyMapping, bool bForceRebuildKeymaps = true);
	UFUNCTION(BlueprintPure, Category = Settings)
	void GetActionMappingByName(const FName InActionName, `TArray<FInputActionKeyMapping>`& OutMappings) const;
	UFUNCTION(BlueprintCallable, Category = Settings)
	void RemoveActionMapping(const FInputActionKeyMapping& KeyMapping, bool bForceRebuildKeymaps = true);
	UFUNCTION(BlueprintCallable, Category = Settings)
	void AddAxisMapping(const FInputAxisKeyMapping& KeyMapping, bool bForceRebuildKeymaps = true);
	UFUNCTION(BlueprintPure, Category = Settings)
	void GetAxisMappingByName(const FName InAxisName, `TArray<FInputAxisKeyMapping>`& OutMappings) const;
	UFUNCTION(BlueprintCallable, Category = Settings)
	void RemoveAxisMapping(const FInputAxisKeyMapping& KeyMapping, bool bForceRebuildKeymaps = true);
	UFUNCTION(BlueprintCallable, Category=Settings)
	void SaveKeyMappings();
	UFUNCTION(BlueprintCallable, Category = Settings)
	void GetActionNames(`TArray<FName>`& ActionNames) const;
	UFUNCTION(BlueprintCallable, Category = Settings)
	void GetAxisNames(`TArray<FName>`& AxisNames) const;
	UFUNCTION(BlueprintCallable, Category = Settings)
	void ForceRebuildKeymaps();
还有几个有用的cpp方法,比如void EKeys::GetAllKeys(TArray& OutKeys)
这里就不过多讲述了
实战
为了方便使用, 我们直接封装到一个蓝图库插件里(为什么不是纯蓝图, 因为后面要用到cpp)
在某些时候我们的事件和按键是一对一就足以的(拳皇?), 有时候需要多个按键(第一/三人称模板),所以我们应对PC平台就设计了一个基础UMG,分为两个模式
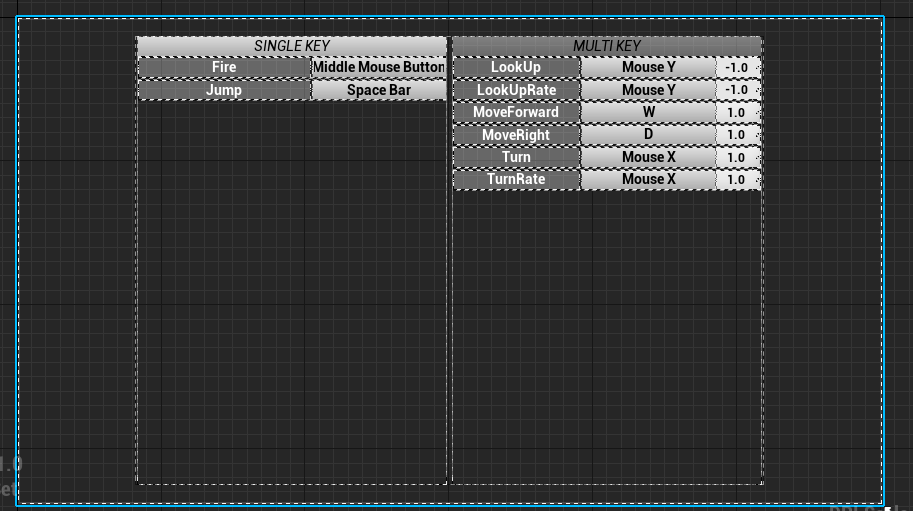
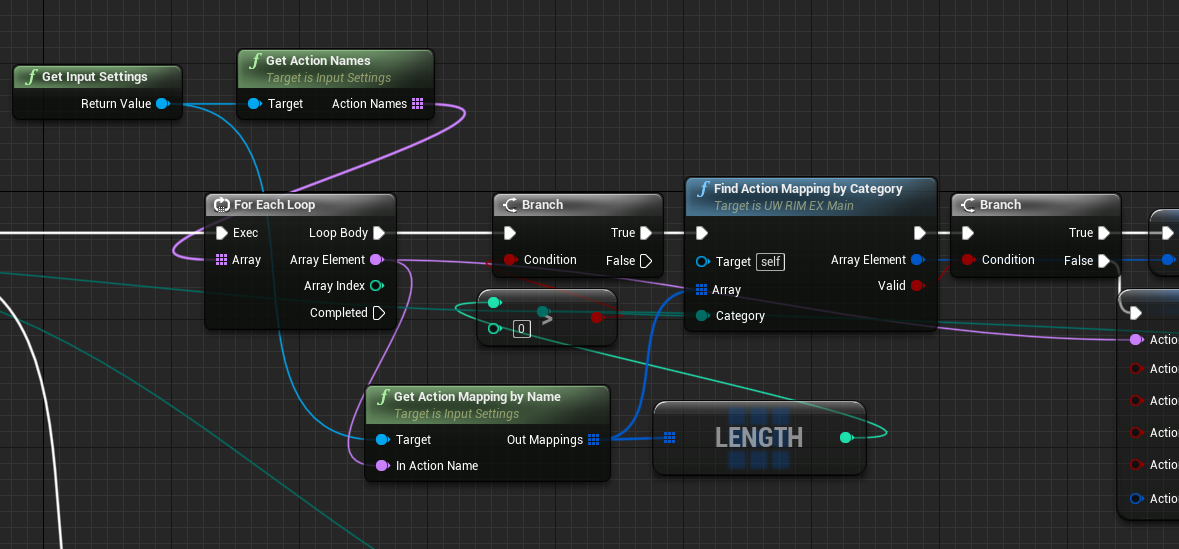
由主UI根据现有按键映射创建对应数量的控件UI,然后控件UI根据自身的状态修改实时的按键映射
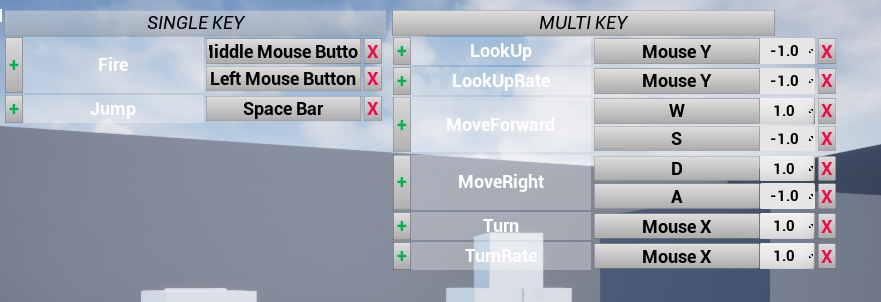
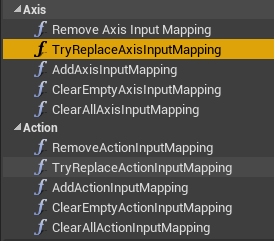
然后封装几个蓝图库函数,方便使用
然后PC端就有了基本解决方案了
然后是VR了, 我这里有现成的HTC Vive, 发现4.26.0目前版本FKey内的Vive类型的变量都是蓝图不可访问的
//InputCoreTypes.cpp L799
	AddKey(FKeyDetails(EKeys::Vive_Left_System_Click, LOCTEXT("Vive_Left_System_Click", "Vive (L) System"), FKeyDetails::GamepadKey | FKeyDetails::NotBlueprintBindableKey, "Vive"));
那么为了图个方便, 设置按键就干脆采用ComboBox的下拉列表的方式来修改按键;那么发现这个方案也使用于PC或者其他各个平台(不需要靠手动按键来设置按键映射)
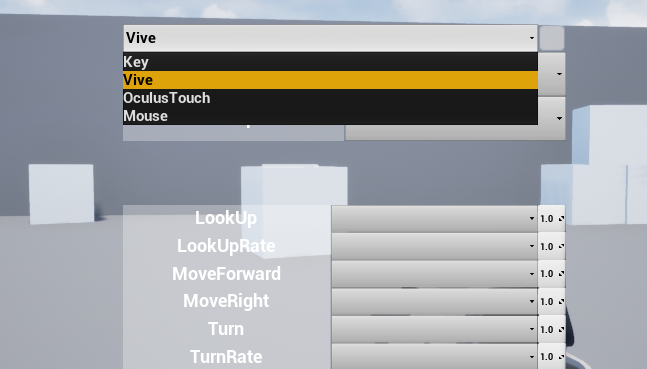
关键就是给ComboBox提供我们其他平台蓝图看不到的按键
先声明一个对应所有类型(Category)的枚举
UENUM(BlueprintType)
enum class ERIMKeyCategory :uint8
{
	None,
	Key,
	Mouse,
	Gamepad,
	Motion,
	Touch,
	Gesture,
	PS4,
	Steam,
	XBoxOne,
	Android,
	Daydream,
	Vive,
	MixedReality,
	OculusGo,
	OculusTouch,
	ValveIndex,
	MagicLeap,
	OculusRemote,
	Cosmos
};
然后整几个库函数
UFUNCTION(BlueprintCallable,BlueprintPure ,Category = "RuntimeInputMapping")
		static void GetAllKeys(`TArray<FKey>`& OutKeys);
	UFUNCTION(BlueprintCallable, BlueprintPure, Category = "RuntimeInputMapping", meta = (AutoCreateRefTerm = "Categories"))
		static void GetAllKeysWithCategories(`TArray<ERIMKeyCategory>` Categories, `TArray<FKey>`& OutKeys);
	UFUNCTION(BlueprintCallable, BlueprintPure, Category = "RuntimeInputMapping")
		static FName GetKeyFName(FKey key);
	UFUNCTION(BlueprintCallable, BlueprintPure, Category = "RuntimeInputMapping")
		static FKey GetKeyByFName(FName name);
	UFUNCTION(BlueprintCallable, BlueprintPure, Category = "RuntimeInputMapping")
		static FKey GetKeyByDisplayName(FText name);
	UFUNCTION(BlueprintCallable, BlueprintPure, Category = "RuntimeInputMapping")
		static FName GetKeyMenuCategory(FKey key);
UFUNCTION(BlueprintCallable, BlueprintPure, Category = "RuntimeInputMapping")
		static FString GetKeyCategoryEnumString(ERIMKeyCategory category = ERIMKeyCategory::None, bool bShortName = true);
然后蓝图里就可以创建控件UI了

稍微注意点的就是 FKey有两个名字, 一个是FName,一个是DisplayName,需要区分开.
如
FName:Vive_Left_System_ClickDisplayName:Vive (L) System
具体参考InputCoreTypes.cpp文件中茫茫多的AddKey()
演示一下
VR道理相同, 无非就是要用到WidgetInteraction来模拟点击
这里有个小问题, 如果默认情况下没有任何
Vive的按键, 蓝图中的AnyKey无法接收到手柄事件,如果给了一个比如是Vive(R) Trigger的按键, 那么就可以有了.应对这个,那么建议默认还是给上对应的设备按键事件, 后期运行后(打包后)只需要修改就行
具体实现方法可以参考插件内容 ↑