- Published on
- |- 次浏览
使用Hexo+GithubPages部署个人静态博客
- Authors

- Name
- 东哥
使用静态博客有些日子了, 前阵子博客文件被手残折腾没了(还好文章有备份), 重新部署一下有点生疏了.
于是还是决定写一篇部署博客的文章重新记录一下部署流程
准备工作
- 手动百度搜索node.js下载并安装
- 下载并安装git
- 注册github账户
关于git和github的使用在另外一篇博客里有详细说明,点击这里
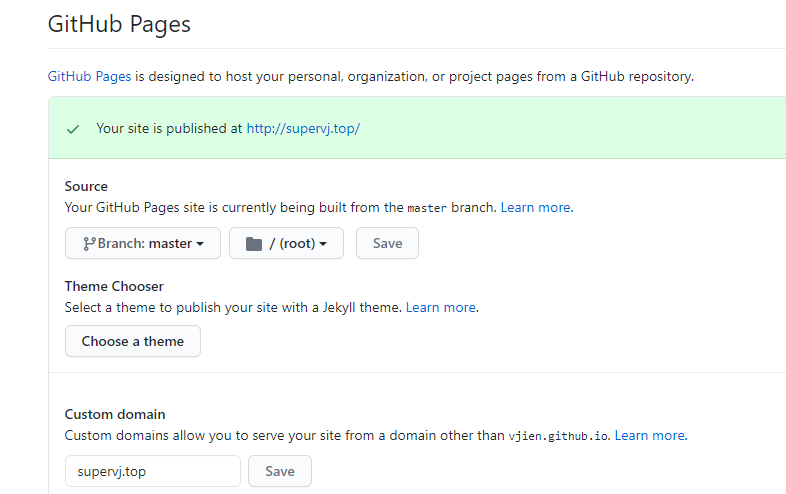
- 创建
你的用户名.github.io的仓库,此仓库是用来保存博客文件的- 虽然非绝对必要但是强烈将以注册一个自己的域名,如阿里云;否则可能导致访问速度过慢或者无效
- 在setting中的
GitHubPages栏填写自己的域名
安装Hexo
GitBash模式下输入安装hexo
$ npm install -g hexo
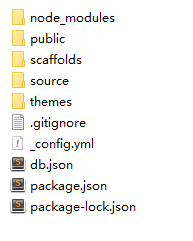
选择一个博客文件夹,输入如下代码初始化hexo环境
$ hexo init
初始化后在文件内会生成若干文件和文件夹,大致如下
部署Hexo
部署需要安装部署插件deployer
npm install --save hexo-deployer-git
安装过程可能会报警告, 我这边提示版本9.0过期什么的,不用理会,继续
hexo的部署一般只需要简单几个命令
$ hexo clean --清理,一般修改配置以后需要执行
$ hexo g 	-- 生成
$ hexo d	-- 部署,即修改到静态博客
$ hexo s	-- 本地预览,在部署之前可以先预览一下,一般是输入localhost:4000 预览
然后打开我们博客根目录下的_config.yml文件,此文件是博客的配置文件,需要区分的是在每一个主题内也有一个同名文件, 那个是主题自身的配置文件
把最下面的deploy信息修改为我们github的对应信息
deploy:
  type: git
  repo: 你的仓库地址.io.git
  branch: 分支名称
安装主题
默认会有一个landscape主题,略丑
我们可以下载一个比较流行的主题如 next或者pure之类的
以next为例,clone目前最新的8.0版本
$ git clone git@github.com:next-theme/hexo-theme-next.git themes/next
打开博客配置文件,在主题设置的地方设置主题为next
theme: landscape
直接hexo s + localhost:4000预览
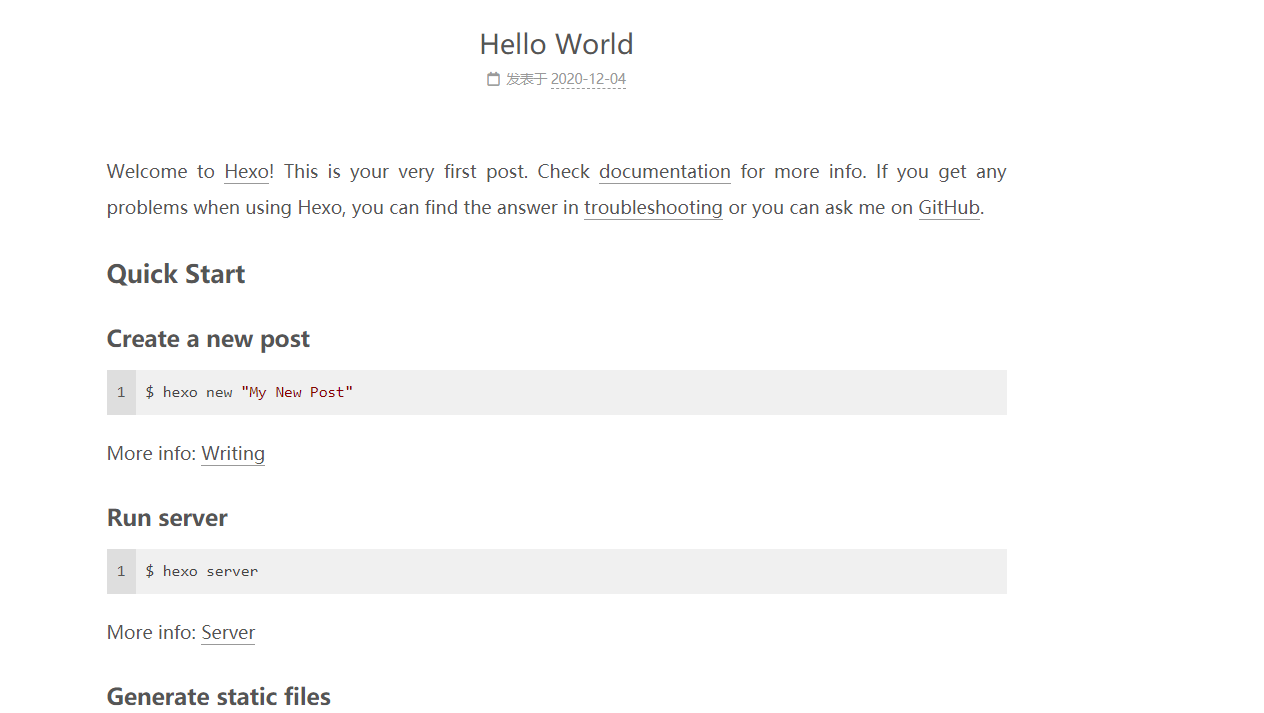
一切顺利!
基础配置
博客配置里面有一些比较重要的我们大概梳理一下
title: 博客名称
subtitle: 网站副标题
description: 描述,会显示在博客名称下(具体需要根据主题)
keywords: 关键字
author: 作者名字
language: zh-CN #语言
timezone: Asia/Shanghai #时区
permalink: :year/:month/:day/:title/ #时间显示方式
打开文件夹source,里面的_posts内就是存放md格式的博客文件的
文档加密
安装插件
npm install hexo-blog-encrypt
- 在
/Hexo/_config.yml文件中添加内容:
encrypt:
	enable:true
然后在博客抬头部分加入如下
password: ##密码
abstract: ##输入密码之前的博客提示
message: ##密码输入框上描述性内容
更新主题
$ cd themes/next
$ git pull
建议更新主题之前先备份一下整个博客文件, 因为主题升级可能导致部分功能出错,严重的话博客无法正常显示(本人亲测)
主题设置
主题风格选择
next主题内有4个风格,可以自己选择; 部分配置选项跟某些风格有冲突,需要注意
# Schemes
scheme: Muse
#scheme: Mist
#scheme: Pisces
#scheme: Gemini
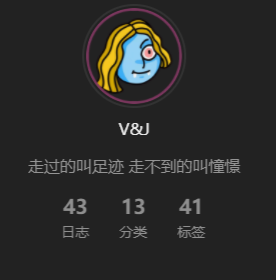
头像设置
头像相关设置在主题配置文件内
avatar:
  # Replace the default image and set the url here.
  url: https://*.png
  # If true, the avatar will be dispalyed in circle.
  rounded: true
  # If true, the avatar will be rotated with the cursor.
  rotated: false
上面显示的是博客主要位置头像,如下图
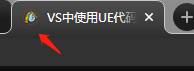
favicon:
  small: https://*.png
  medium: https://*.png
  apple_touch_icon: https://*.png
  safari_pinned_tab: https://*.png
上面代码显示的浏览器比如下图位置显示的头像
反正也没多的准备,都统一用一个了
配置 about、tag、categories菜单
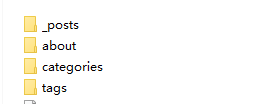
source文件夹中默认只有_posts文件夹, 我们需要手动创建about,tag等文件夹
同时打开next主题配置文件中的所需要的注释,如下
menu:
  home: / || fa fa-home
  about: /about/ || fa fa-user
  tags: /tags/ || fa fa-tags
  categories: /categories/ || fa fa-th
  archives: /archives/ || fa fa-archive
  #schedule: /schedule/ || fa fa-calendar
  sitemap: /sitemap.xml || fa fa-sitemap
  #commonweal: /404/ || fa fa-heartbeat
about一般是介绍博主的个人信息和博客信息, ,需要生成一个index.md的文件
可以用如下命令
hexo new page about
类似的tags和categories也是
上面的404页面我本人没兴趣就没有去设置,有兴趣的朋友可以自己去找相关文档设置一下
本地搜索
我们在主题配置文件中会看到一个local_search关键字,默认enable: false, 我们先把他打开
local_search:
  enable: true
  # If auto, trigger search by changing input.
  # If manual, trigger search by pressing enter key or search button.
  trigger: auto
  # Show top n results per article, show all results by setting to -1
  top_n_per_article: 1
  # Unescape html strings to the readable one.
  unescape: false
  # Preload the search data when the page loads.
  preload: false
但是这个还不够, 点击搜索还是没有作用
因为本地搜索还需要插件支持
npm install hexo-generator-searchdb --save
输入上述命令安装插件
然后在项目配置文件最底下加入如下
# 本地搜索
search:
  path: search.xml
  field: post
  format: html
  limit: 100
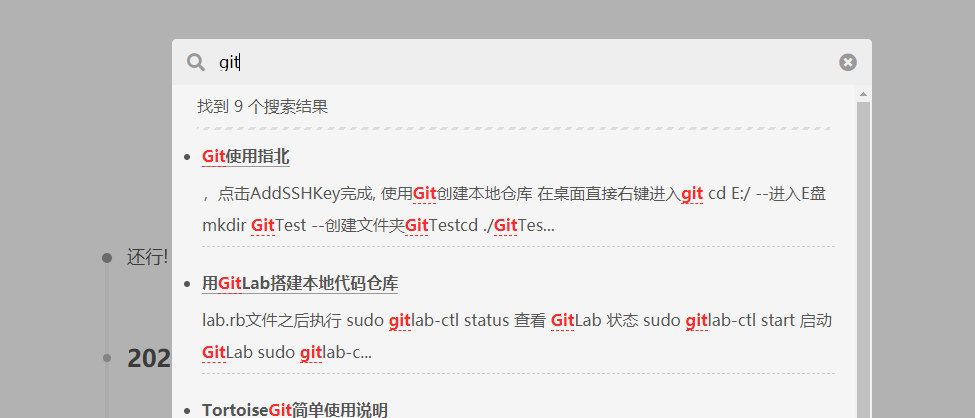
如此完成本地搜索功能
RSS订阅
主题文件底部添加
feed:
  type: atom
  path: atom.xml
  limit: 20
  hub:
  content:
  content_limit: 140
  content_limit_delim: ' '
  order_by: -date
  icon: icon.png
  autodiscovery: true
  template:
next配置文件打开RSS注释
RSS: /atom.xml || fa fa-rss
底部版权显示
footer:
  #建站年份,默认是当前的
  since: 2020

  # Icon between year and copyright info.
  icon:
    # 年份与作者之间的图片,可以参考 https://fontawesome.com/icons
    name: fa fa-heart
    # 动画表现
    animated: true
    # 颜色
    color: '#00DB00'

  # 作者,不填写就使用博客配置中的作者
  copyright:

  # 显示 Hexo & NexT
  powered: true
社交信息
social:
  #GitHub: https://github.com/yourname || fab fa-github
  #E-Mail: mailto:yourname@gmail.com || fa fa-envelope
  #Weibo: https://weibo.com/yourname || fab fa-weibo
  #Google: https://plus.google.com/yourname || fab fa-google
  #Twitter: https://twitter.com/yourname || fab fa-twitter
  #FB Page: https://www.facebook.com/yourname || fab fa-facebook
  #StackOverflow: https://stackoverflow.com/yourname || fab fa-stack-overflow
  #YouTube: https://youtube.com/yourname || fab fa-youtube
  #Instagram: https://instagram.com/yourname || fab fa-instagram
  #Skype: skype:yourname?call|chat || fab fa-skype
自行开启, 国内用户常用的估计也就前三个了
字数统计等
主题配置中有symbols_count_time:相关字眼
字数显示设置跟老版本有区别, 不要盲目安装老版本插件, 亲测安装以后导致整个博客文件崩坏
按照注释中的说明操作,安装插件
$ npm install hexo-word-counter
然后复制如下内容到博客配置文件
symbols_count_time:
  symbols: true
  time: true
  total_symbols: true
  total_time: true
  exclude_codeblock: false
  awl: 4
  wpm: 275
  suffix: 'mins.'
另外可以直接打开主题配置中的busuanzi阅读统计
最终效果如下

原创申明
打开主题配置
creative_commons:
  license: by-nc-sa
  sidebar: true
  post: true
  language:
效果如下

添加到google搜索
要添加到搜索引擎,我们先需要生成我们的站点地图文件,先安装插件
npm install hexo-generator-sitemap --save
npm install hexo-generator-baidu-sitemap --save  #这个是百度的,我没添加
然后在博客配置文件中添加
# 自动生成sitemap
sitemap:
path: sitemap.xml
baidusitemap:
path: baidusitemap.xml
然后生成博客文件
正常情况下在博客public目录下生成了一个sitemap.xml文件,这样就是成功了
然后就需要提交给谷歌,点击这里进行谷歌部分操作
点击添加资源自行添加网站域名
然后在google中输入 site:你的域名测试
打赏
比较简单,打开主题配置文件对应的reward设置,并附上自己的打赏图片
reward_settings:
  # If true, a donate button will be displayed in every article by default.
  enable: true
  animation: true
  #comment: Buy me a coffee

reward:
  wechatpay: https://img.supervj.top/img/reward/微信图片_20200601120451.jpg
  alipay: https://img.supervj.top/img/reward/alipayReward.jpg
  #paypal: /images/paypal.png
  #bitcoin: /images/bitcoin.png
代码
代码可以直接设置主题, 可以到这里预览效果
codeblock:
  theme:
    light: monokai-sublime #设置自己的主题
    dark: tomorrow-night
  prism:
    light: prism
    dark: prism-dark

  copy_button:
    enable: true #开启复制按钮

    style:
字体
到谷歌字体查找自己感兴趣的字体
font:
  enable: true #开启

  host:

  #全局字体
  global:
    external: true
    family: Noto Serif SC #个人感觉比较好看的中文字体
    size: 0.85

  # 抬头, 博客名称会是这个字体
  title:
    external: true
    family: ZCOOL XiaoWei
    size:

  # 所有标题
  headings:
    external: true
    family: NoTo Sans SC
    size:

  # 文章字体
  posts:
    external: true
    family:

  # 代码字体
  codes:
    external: true
    family: Consolas #vs等宽字体
评论系统
评论系统next支持很多版本, 随意选择自己喜欢的
我这里拿Changyan做了测试,使用还算方便
点击官网,进入畅言云评
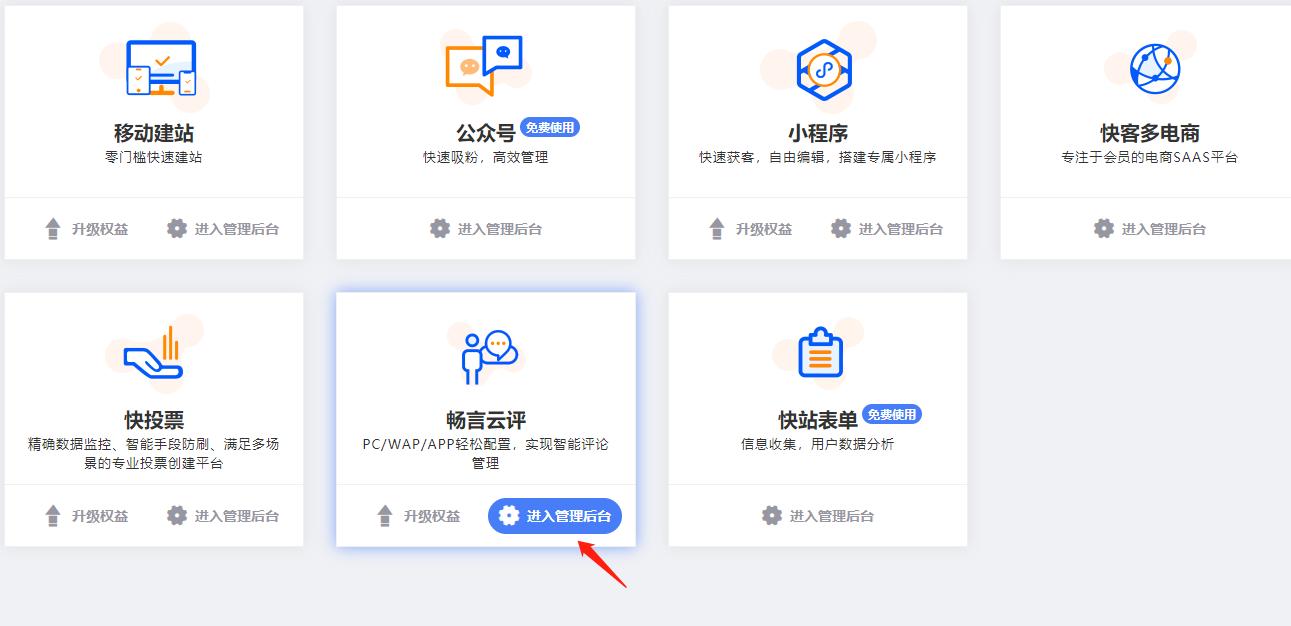
一路注册进去,最后得到类似下图的代码
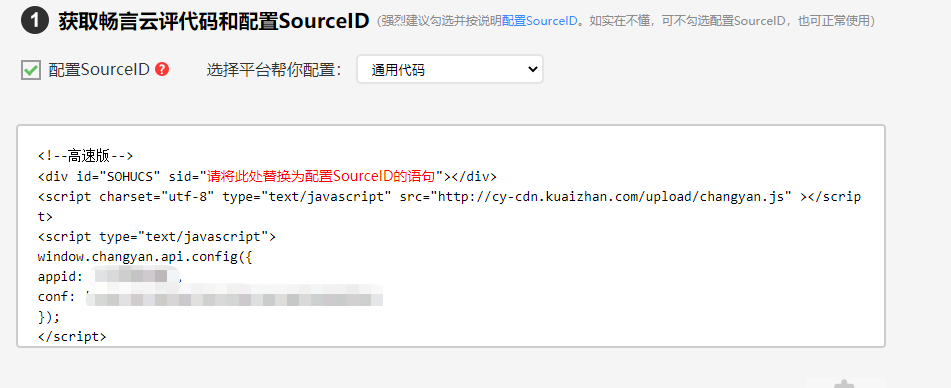
回头看我们next内的代码
changyan:
  enable: true
  appid:
  appkey:
发现略微有区别,没事, 我们霸王硬上弓,appid就填上, 把conf内容复制到appkey中
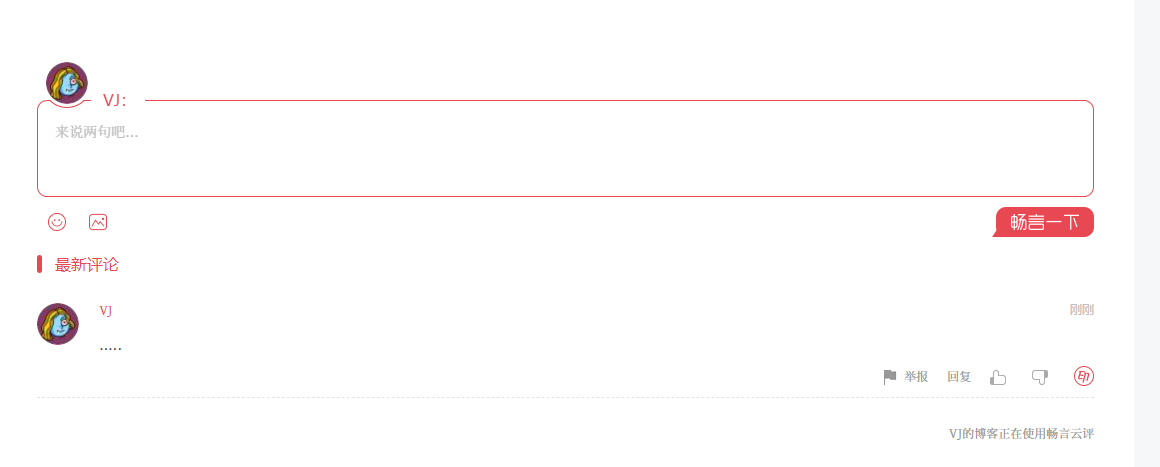
测试完成发现正常工作, 就是评价之前需要登陆一下系统还得绑定手机, 略微麻烦
登录后台发现已有记录

自定义样式
custom_file_path:
  #head: source/_data/head.njk
  #header: source/_data/header.njk
  #sidebar: source/_data/sidebar.njk
  #postMeta: source/_data/post-meta.njk
  #postBodyEnd: source/_data/post-body-end.njk
  #footer: source/_data/footer.njk
  #bodyEnd: source/_data/body-end.njk
  #variable: source/_data/variables.styl
  #mixin: source/_data/mixins.styl
  style: source/_data/styles.styl
打开博客文件如上注释,同时在博客根目录的source内创建如代码所示文件,此文件是自定义样式的文件
背景图片
body {
    background-image:url(https://source.unsplash.com/random/1600x900);
    background-repeat: no-repeat;
    background-attachment: fixed;
    background-position: center;
}
背景颜色
.main-inner {
    background-color: rgba(255, 255, 255, 0.88);
}
边框圆滑
.header-inner {
    border-radius: 30px 30px 30px 30px;
    box-shadow: 8px 7px 2px 0 rgba(0,0,0,0.12), 7px 4px 1px -2px rgba(0,0,0,0.06), 0 1px 5px 0 rgba(0,0,0,0.12);
}
.sidebar-inner{
    border-radius: 30px 30px 30px 30px;
    box-shadow: 8px 7px 2px 0 rgba(0,0,0,0.12), 7px 4px 1px -2px rgba(0,0,0,0.06), 0 1px 5px 0 rgba(0,0,0,0.12);
}
.pagination {
    border-radius: 30px 80px 30px 80px;
    box-shadow: 8px 7px 2px 0 rgba(0,0,0,0.12), 7px 4px 1px -2px rgba(0,0,0,0.06), 0 1px 5px 0 rgba(0,0,0,0.12);
}
代码风格(普通模式的)
- 默认颜色
code {
  padding: 3px 5px;
  word-wrap: break-word;
  color: #32CD32;
  background: #F0F8FF;
  border-radius: 6px;
  font-size: 15px;
  font-weight: Bolder;
}
- 鼠标选择的颜色
// 鼠标选择的段落变成绿色
::selection {
    background-color: #59ff83;
    color: #555;
}
阅读全文按钮
需要配合md文档中给与阅读全文的代码
``
.post-button .btn {
    color: #555!important;
    background-color: #fff;
    border-radius: 3px;
    font-size: 15px;
    box-shadow: inset 0 0 10px 0 #e346035c;
    border: none!important;
    transition-property: unset;
    padding: 0 15px;
    border-radius: 30px 30px 30px 30px;
}
strong字体
strong字体包括两个星号 和
- 这样的
strong{
font-weight: bold;
    background-color: #E6E6FA;
    border-radius: 39px;
    color: #171be7;
    padding-left: 0px;
    padding-right: 1px;
    text-shadow: 1px 1px 1px #0003;
}